Boost Scanner Consolidation
Please read the entire message, as updates are required on your part to ensure no interruption of coverage!
In our ongoing effort of constantly expanding and improving our ability to identify and prioritize risks within your source code and Supply Chain, we are excited to announce an update that will have an impact on your current policies and coverage within Boost.
What is changing?
This update will remove the following scanners:
- CI/CD Scanner for (Azure DevOps, Bitbucket, GitHub, and GitLab)
- Supply Chain Scanner for (Azure DevOps, Bitbucket, GitHub, and GitLab)
- BoostSecurity SCA from SBOM
- BoostSecurity OSS License
- BoostSecurity Supply Chain Inventory
But all of their combined capabilities will be added to the BoostSecurity Scanner, and this scanner will now be enabled automatically by default for all newly discovered assets. Any assets that already existed in Boost prior to this new feature being released, however, will require you to provision the BoostSecurity Scanner yourself.
How does this help you?
This move greatly simplifies the onboarding and day-to-day operations of scanner coverage within boost moving forward. Everything gets a minimum level of CI/CD, Supply Chain Inventory, and all relevant enrichment to an SBOM (if you choose to generate one) on every asset!
Who is impacted?
Anyone using one or more of the above list of scanners will see that coverage disappear unless they provision the “BoostSecurity Scanner” on those resources.
Additionally, anyone with a custom policy will need to update that policy rule set to take advantage of the new rules added to BoostSecurity Scanner.
What do you need to do?
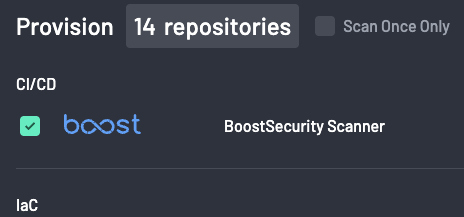
Provision the BoostSecurity Scanner
Because the BoostSecurity Scanner is recommended for all assets, we recommend that you follow these steps to enable it across your portfolio. If, however, you have assets you do not want any coverage on, please remove those assets from the selection prior to provisioning the BoostSecurity Scanner.
- Boost recommends you go to the Scanner Coverage page.
-
Select all your repository assets by clicking on the “Select all repositories” button on each connection.
-
Click “Provisioning”.
-
Change the checkbox next to the BoostSecurity Scanner to be a checkmark, but change nothing else (note: depending on whether you already have BoostSecurity Scanner provisioned on 1 or more of your selected repositories, this checkbox may start as a dash (-). You will need to ensure this is changed to a check mark before moving forward)
-
Click Complete
Update Your Existing Policies
For any Policy Designer policies that exist in your system already, the BoostSecurity Scanner will have a large number of new rules from the consolidated scanners which will not be selected by default. To ensure the new capabilities of this updated scanner are being leveraged, you must take the following actions.
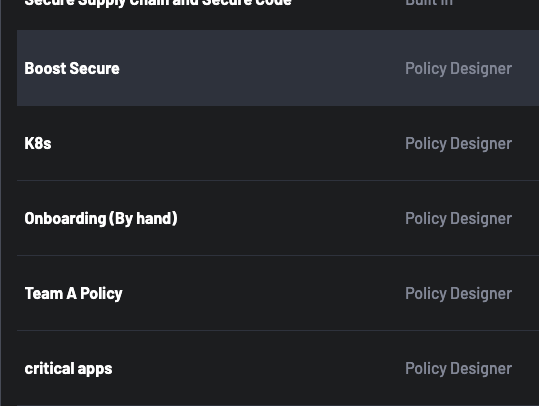
- Navigate to the “Policies” page
-
Click into every policy with Source listed as “Policy Designer”.
-
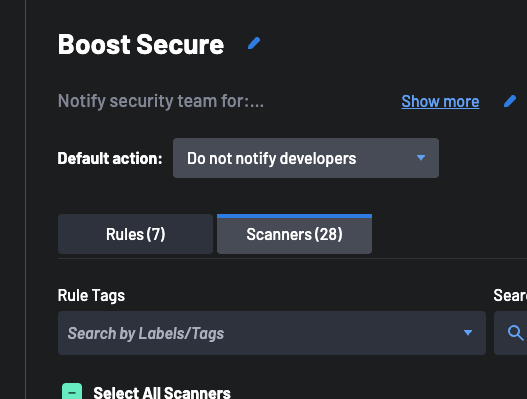
Click on the “Scanners” tab in each policy
-
Scroll down to the “BoostSecurity Scanner” (note that it shows a dash instead of a checkmark indicating not all rules within it are selected)
-
Expand the scanner rules list and select the empty checkboxes
- Click Save at the bottom of the screen (Do Not Forget This Step!)
- Repeat for all your custom policies


