How to Create a New Policy
Creating a policy involves establishing rules and assigning corresponding actions for triggered events. Here's a step-by-step guide:
-
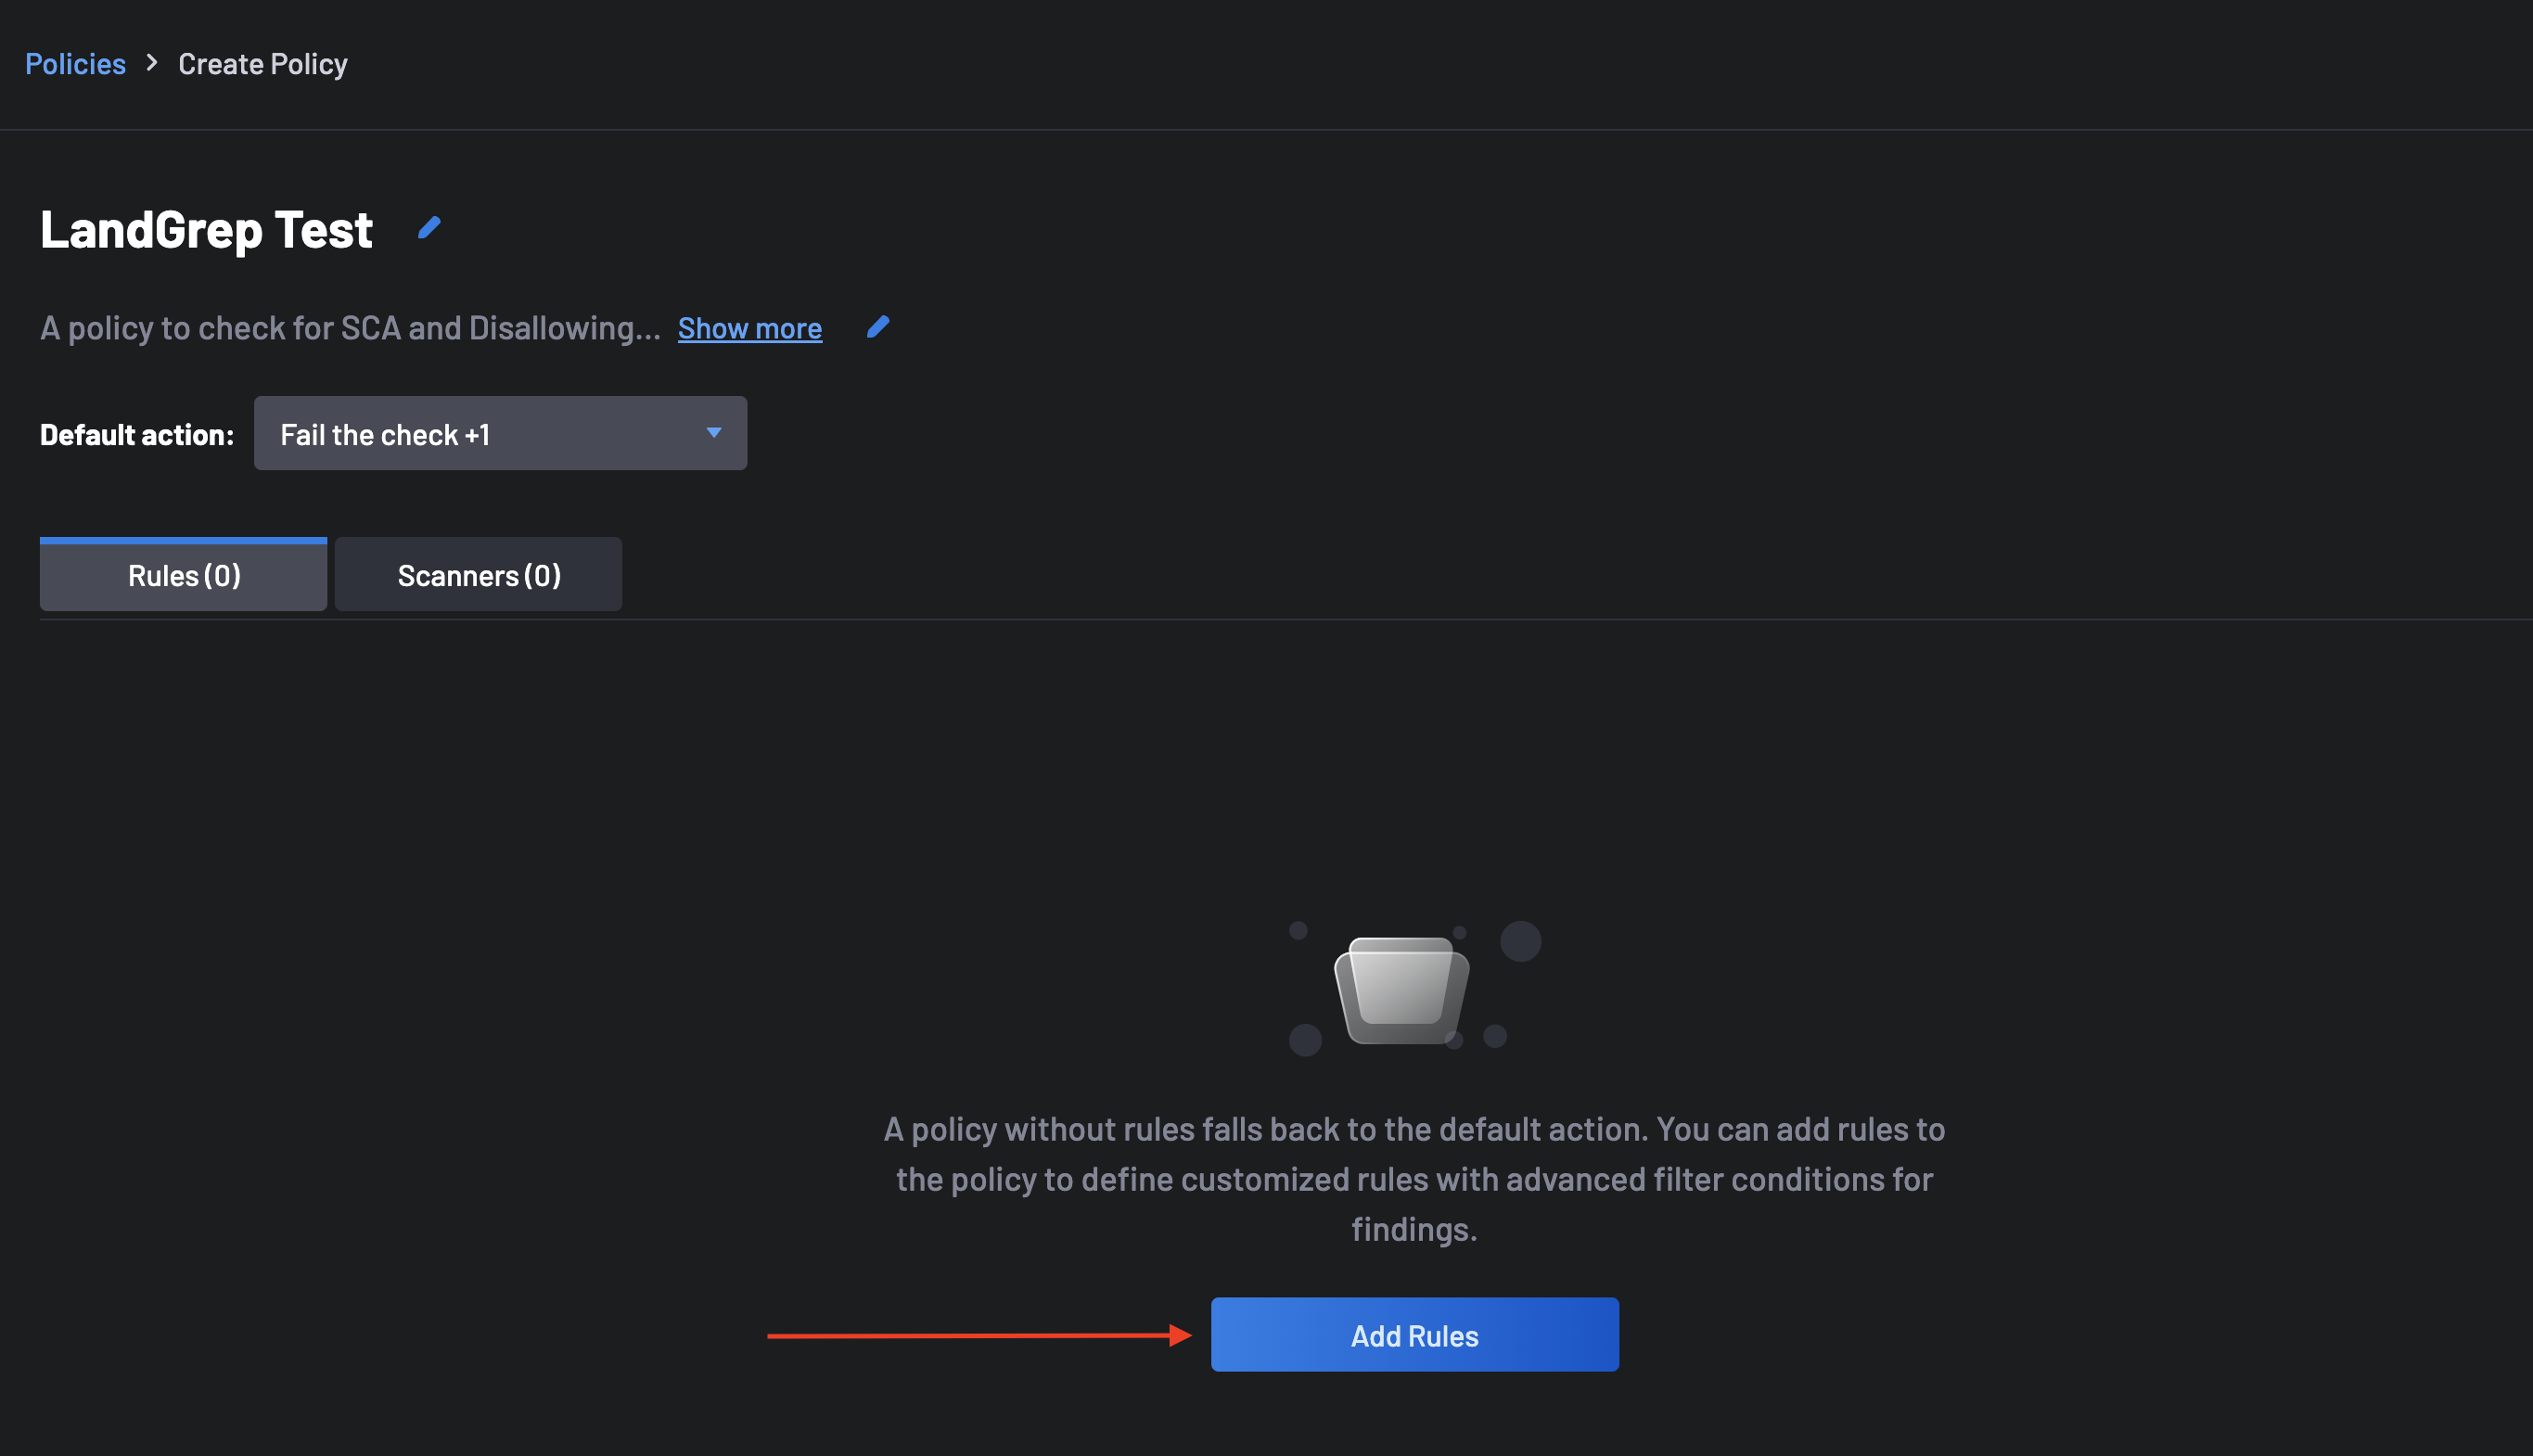
Navigate to the Policy page and click on the New Policy button at the top-right corner.
-
Provide a Name and Description for your policy, e.g., Disallowed Licenses, Severity Indicator, etc.
-
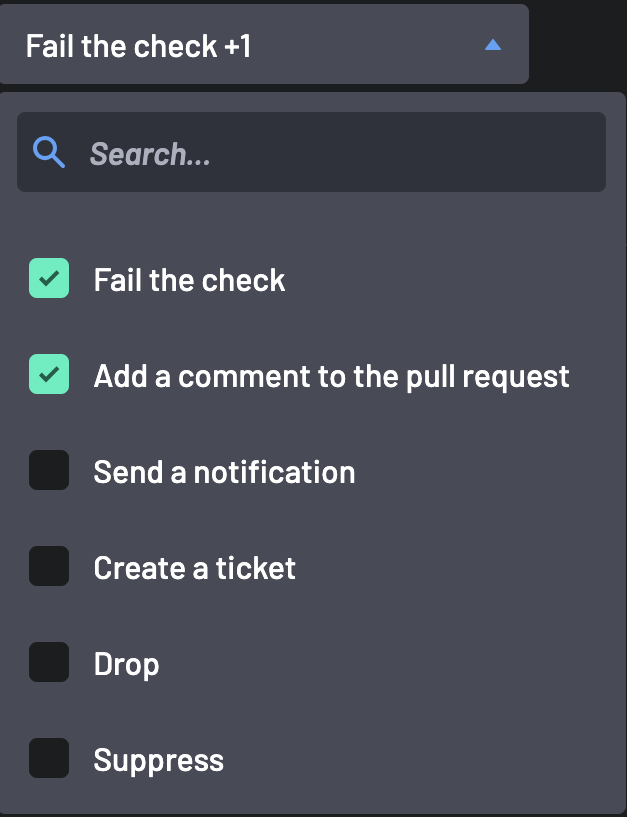
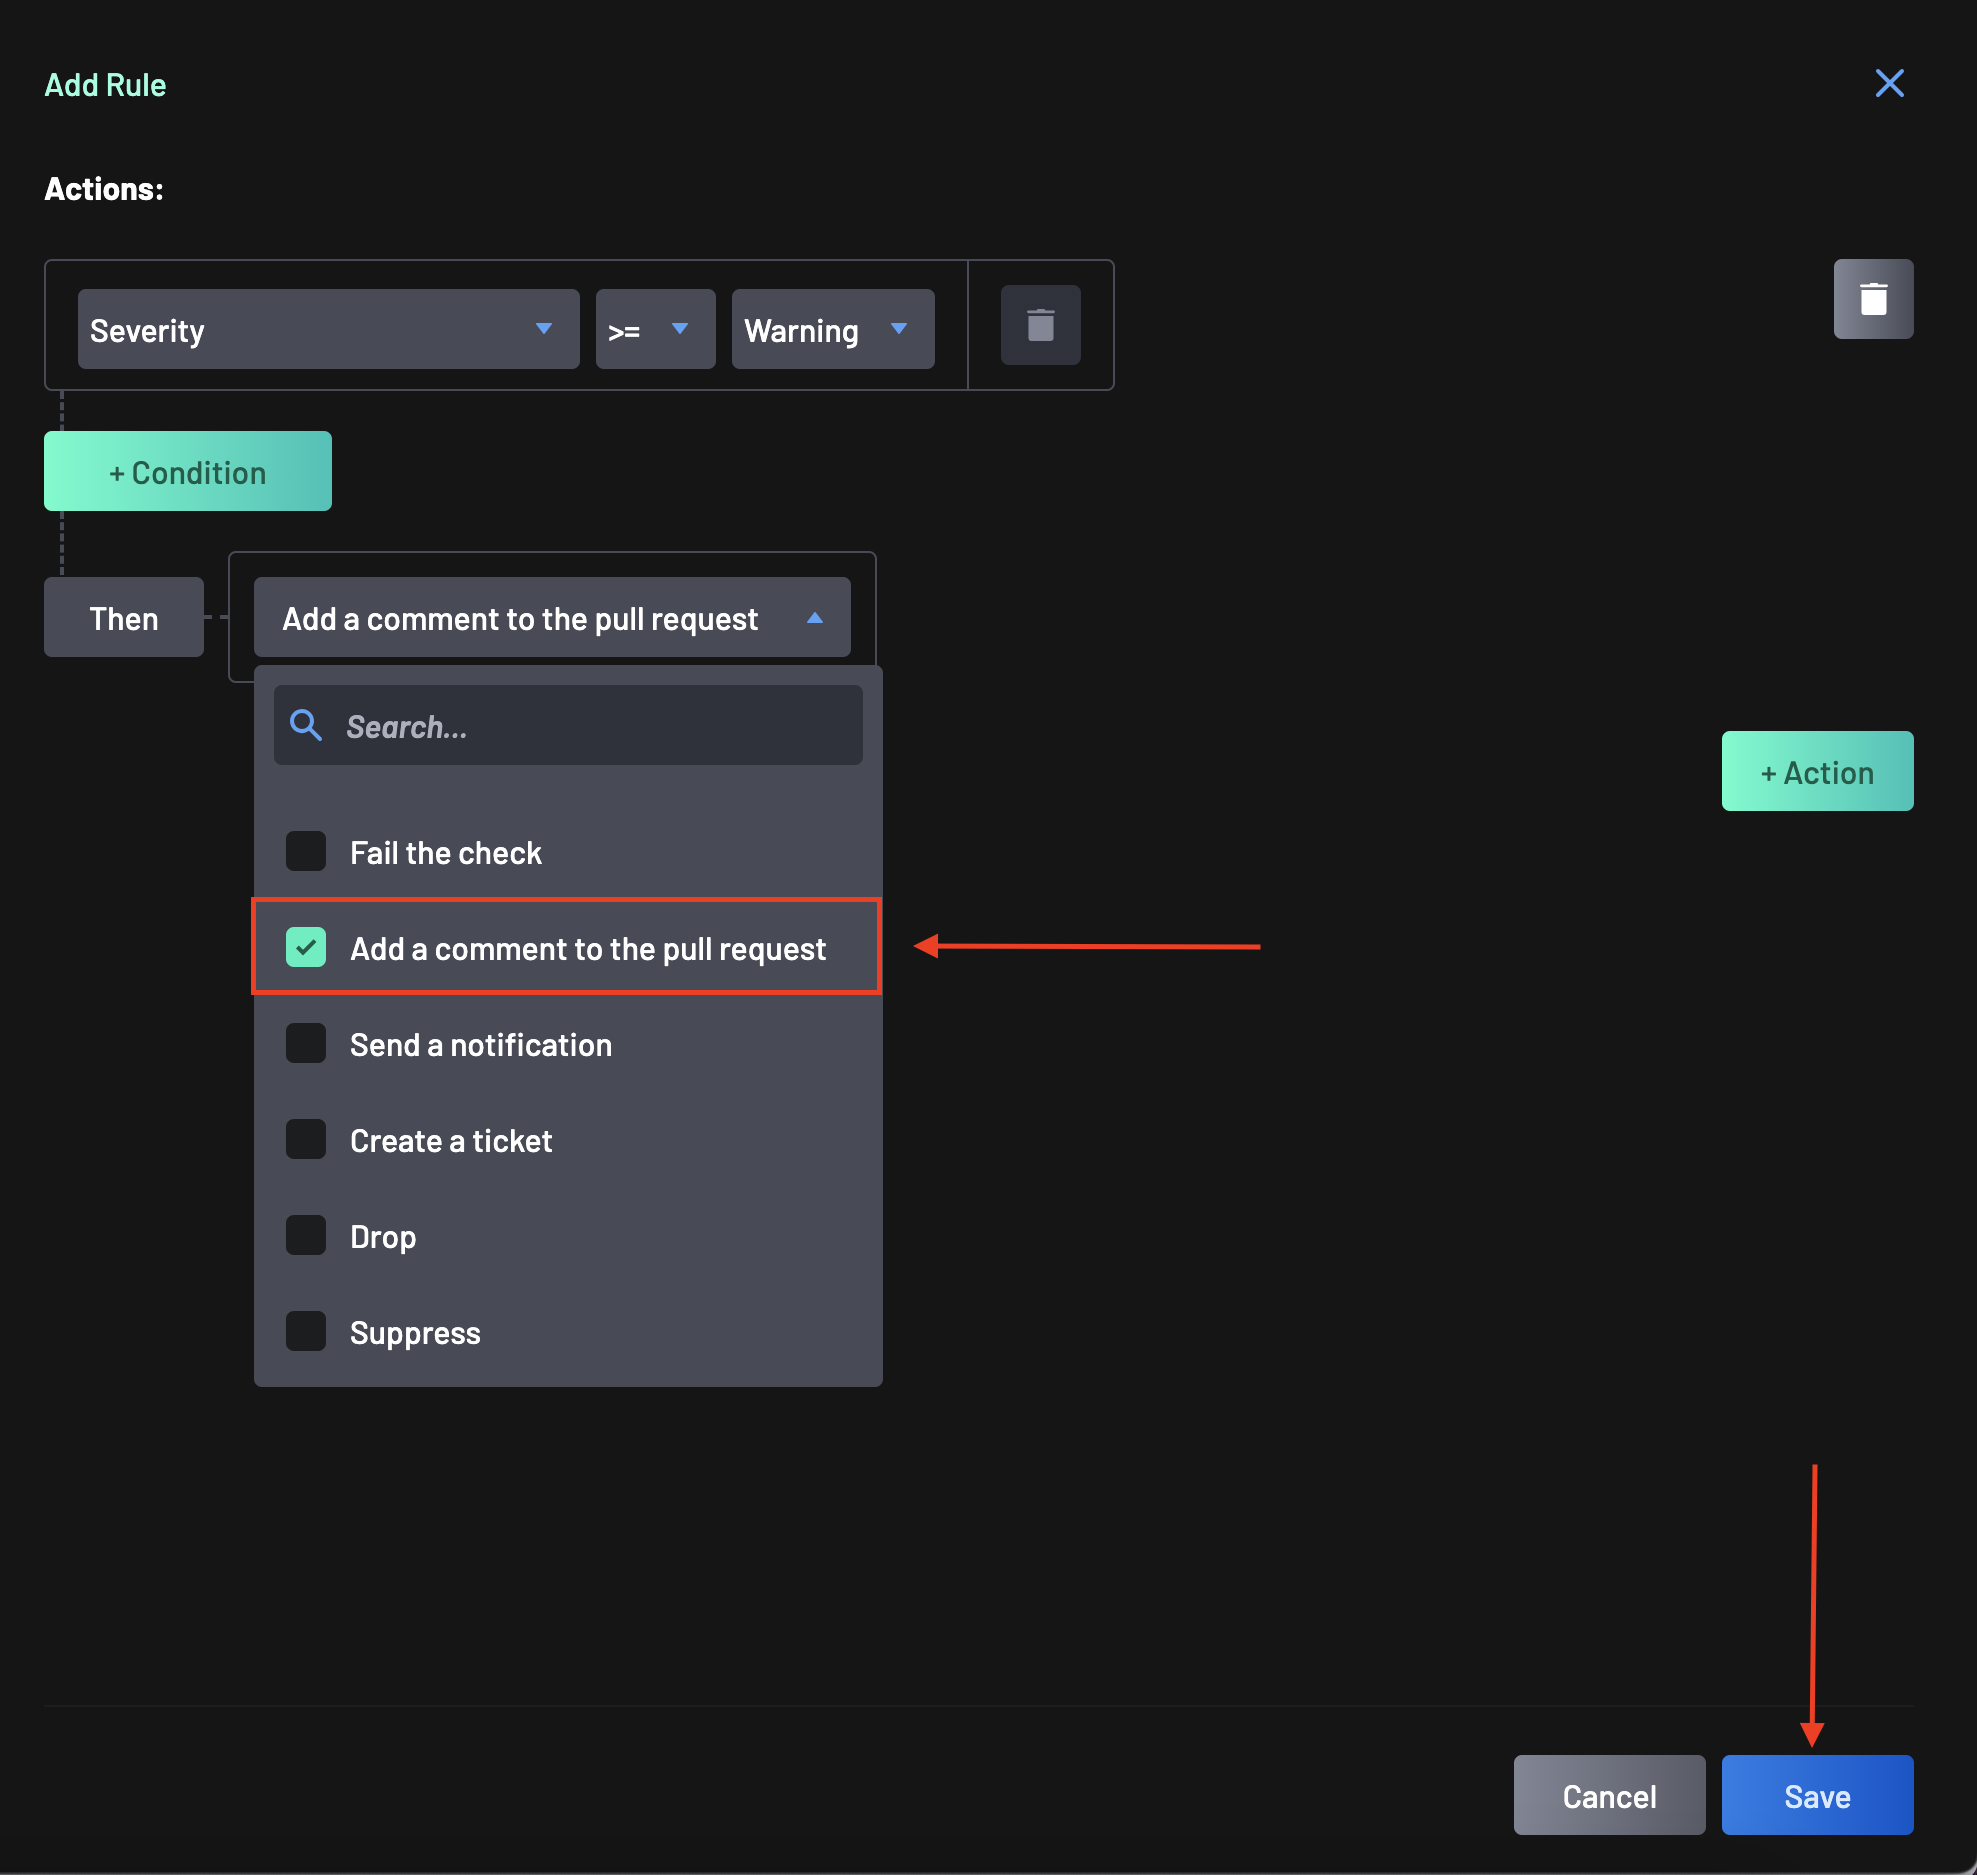
Select an action for the rule if you're not using the default action (Do not notify developers), which includes:
- Fail the check - This action would fail the check.
- Add a comment to the PR - This action would add a comment to the PR.
- Send a notification - This action would notify your configured integrations (Slack, Teams, or Webhook). You must select either integrations and add the channel name or webhook.
- Create a ticket - This action would create a ticket. You need to add a project name here.
- Drop - This action would drop all the findings generated by the policy.
- Suppress - This action would suppress the findings.
Warning
If you have drop all anywhere in your policy, compliance is always 0 for affected assets.
You can select more than one action as your default action for the policy.
-
Click the Add Rule button.
-
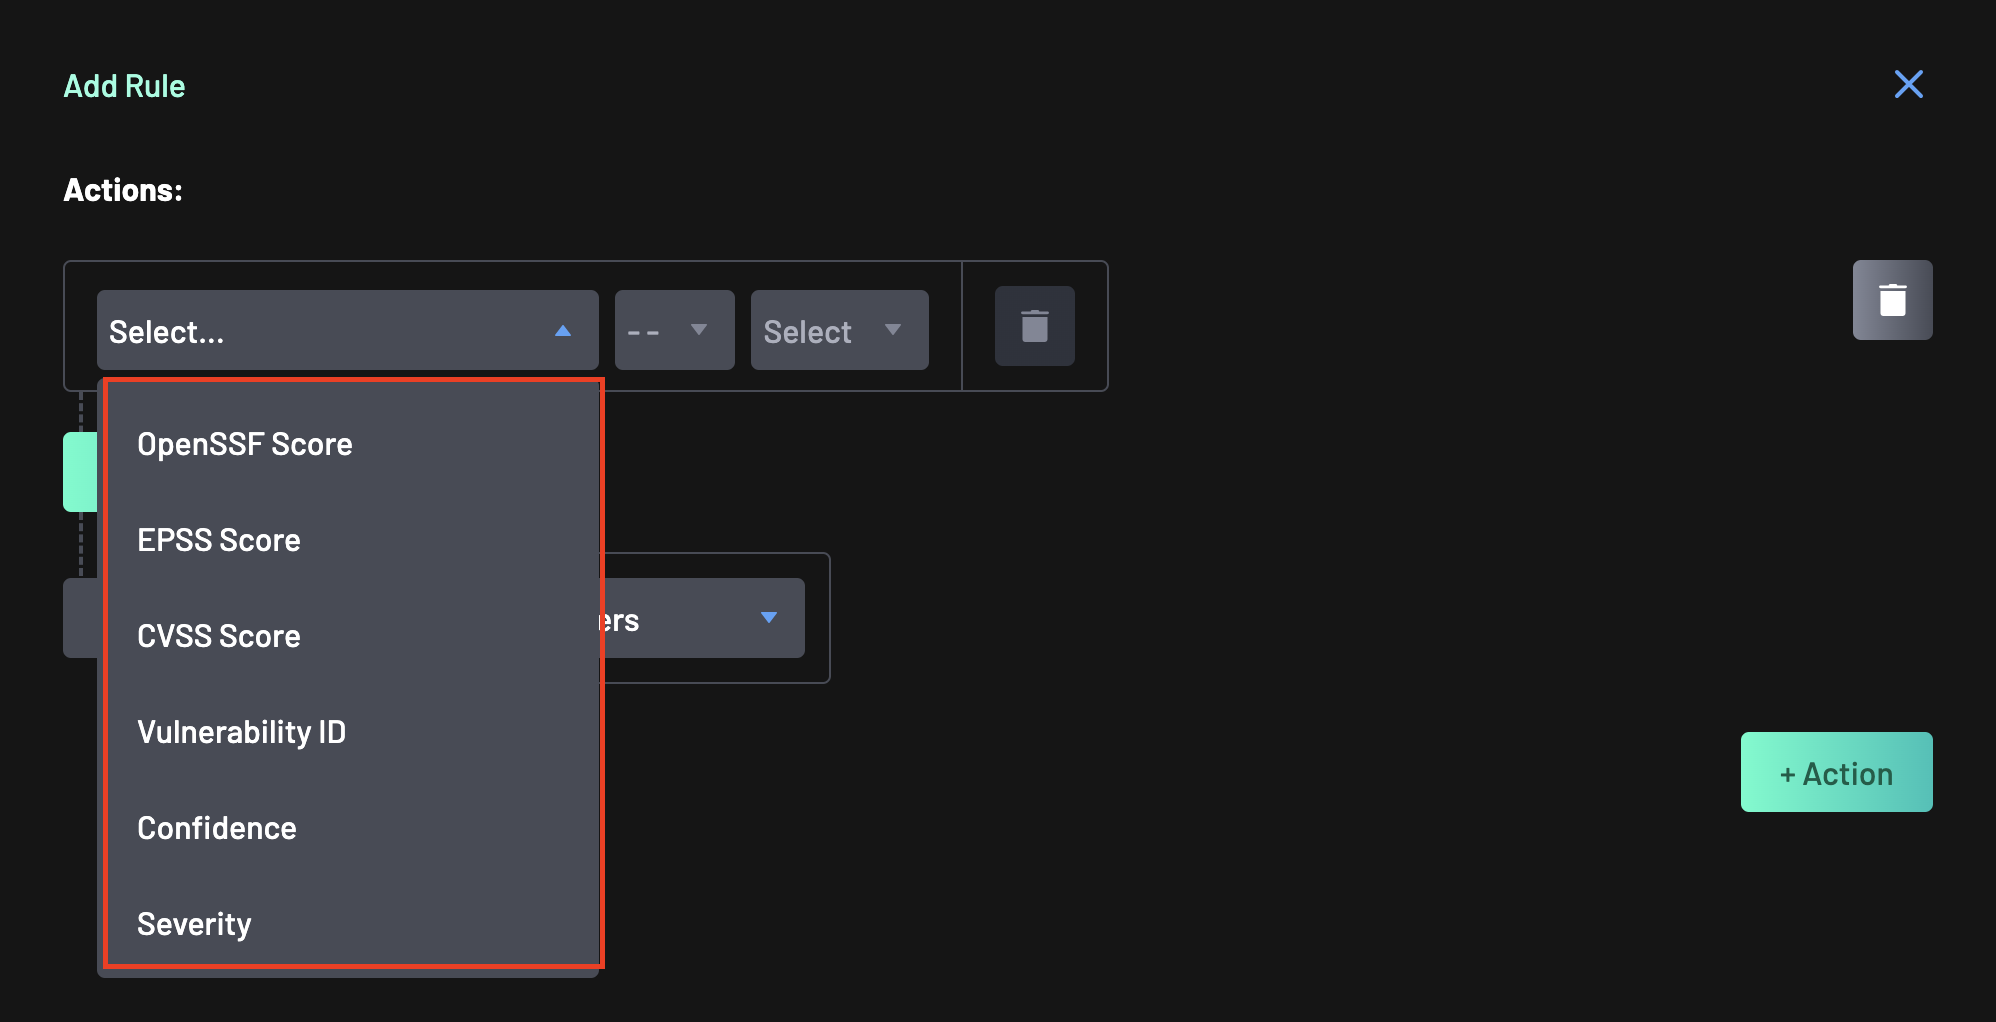
Click the Add Action button to define a policy rule category, specifying parameters such as Label, EPSS Score, CVSS Score, Vulnerability ID, Confidence, Severity, Repository Flag, or many more.
-
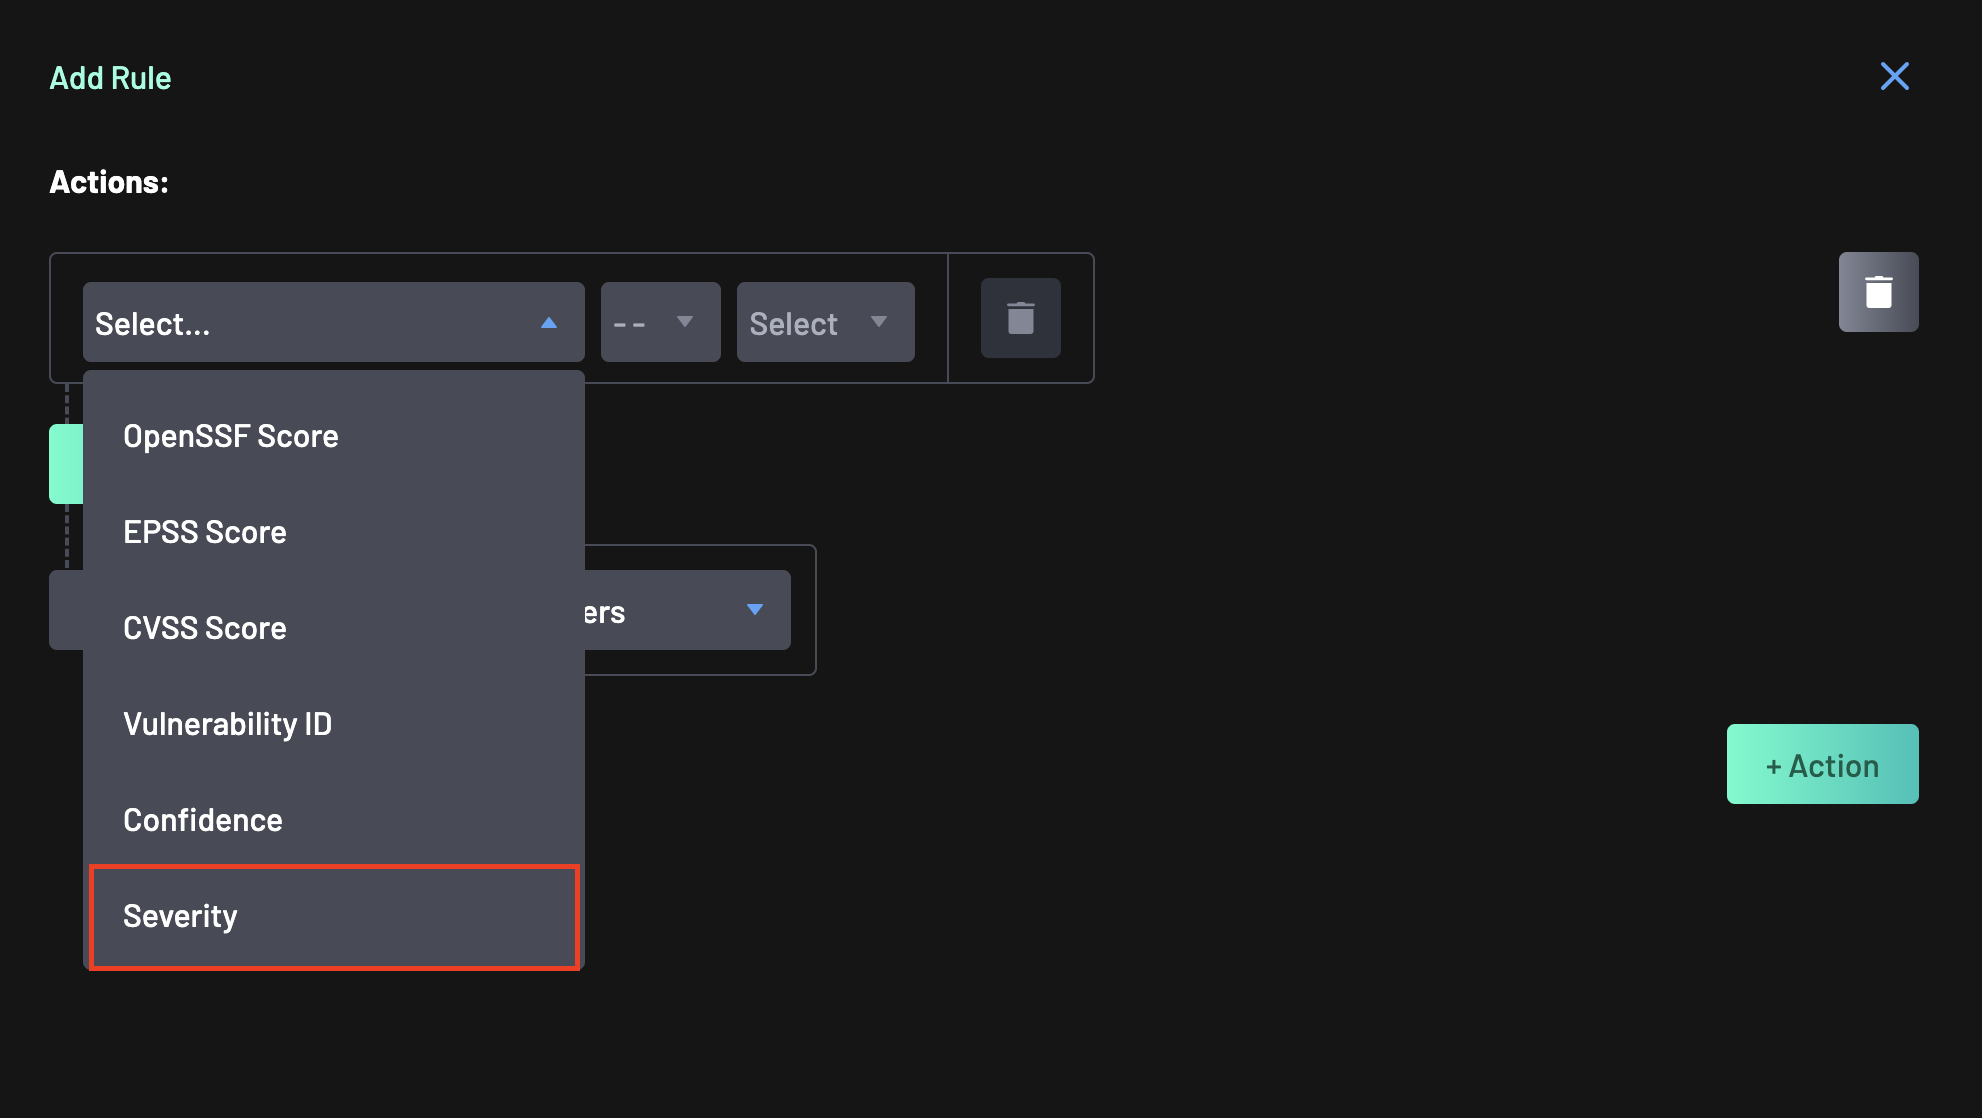
Select any of the action rule categories, but for this guide, let's select
Severityas an action path. -
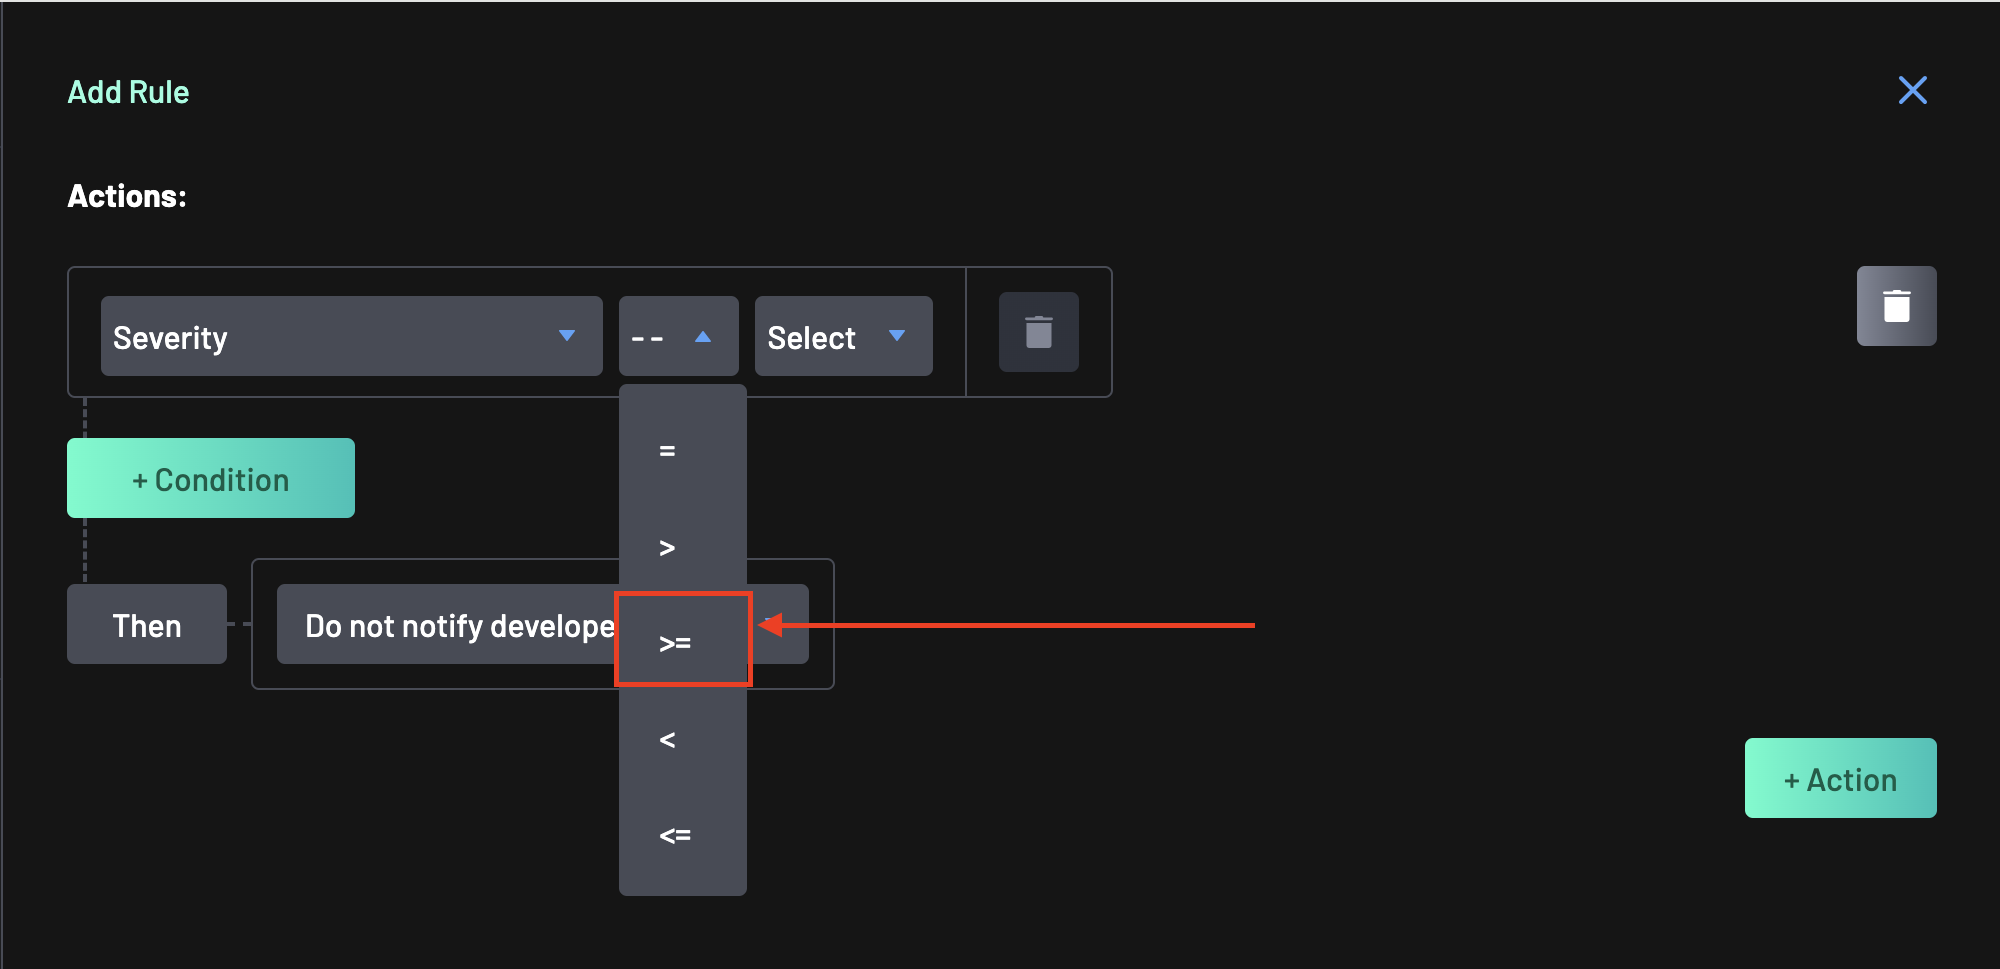
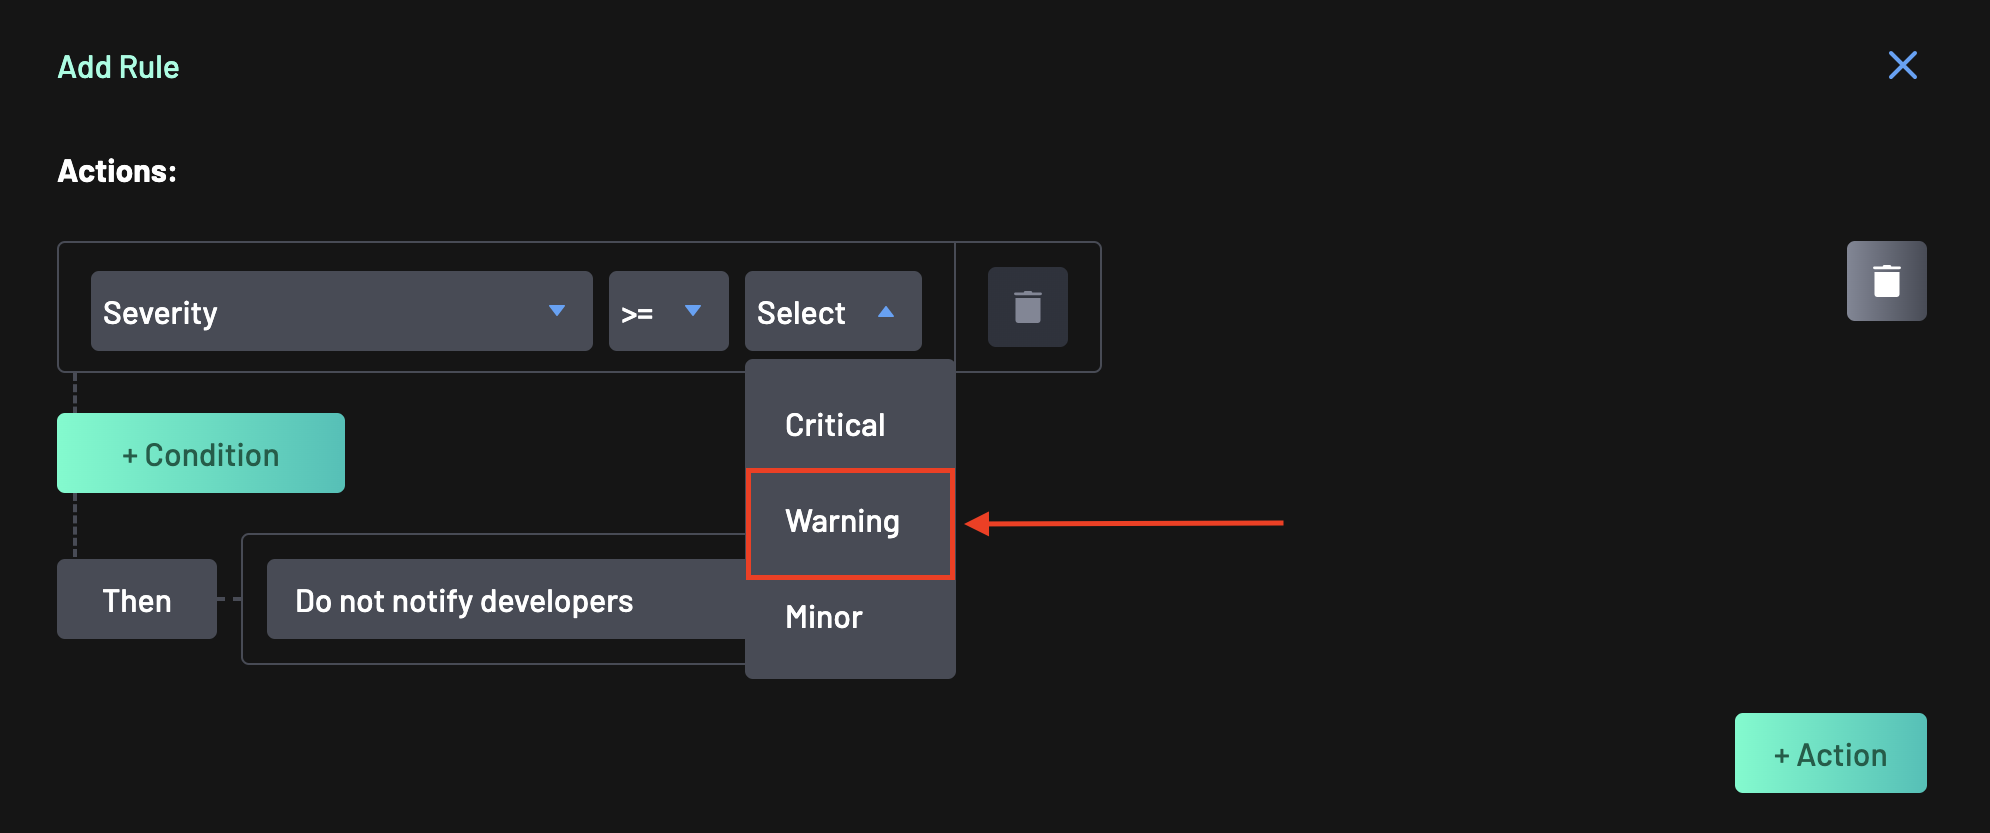
Select the
>=symbol to set the condition for the action path (i.e., "Severity" >= "Warning"). This indicates that when the "Severity" is greater than or equal to "Warning", then the condition of the action is to "Add a comment to the pull request".Save your progress.
Info
You can add multiple "Actions" for a given "Condition" by clicking the +Action button.
-
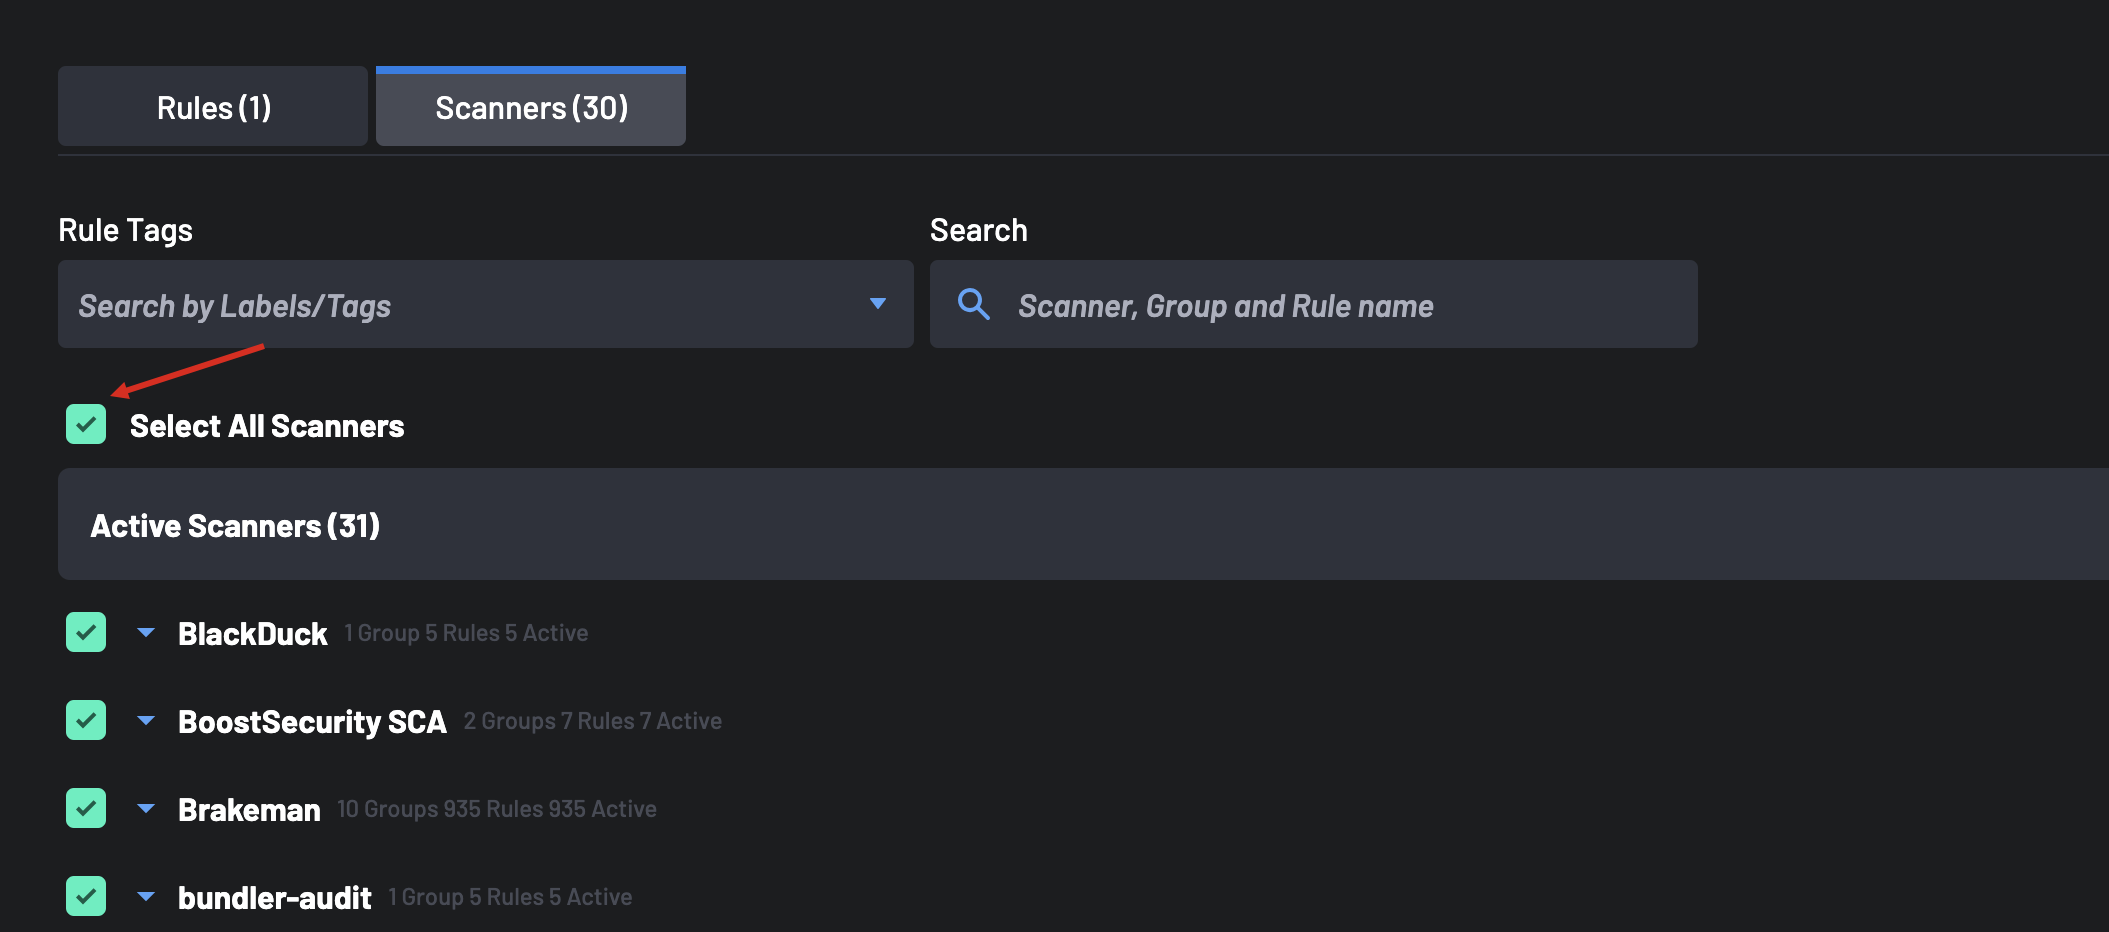
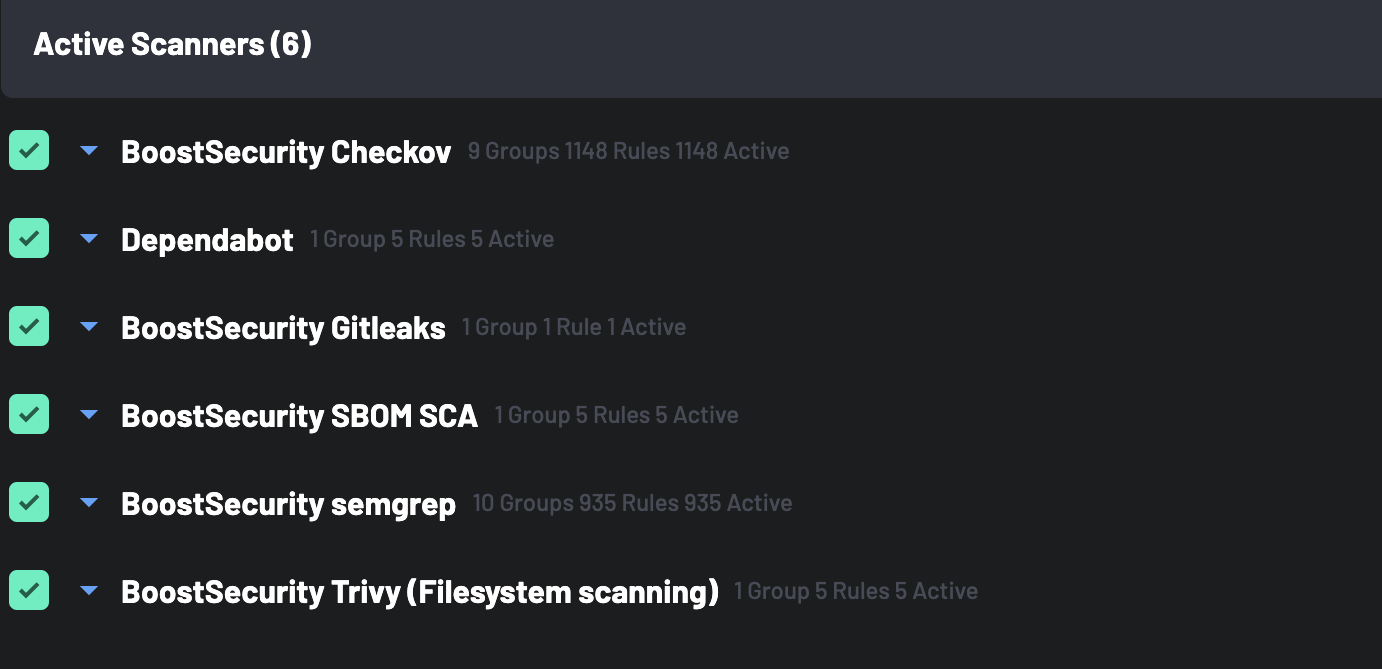
Finally, click on the Scanners tab next to select specific scanners for your custom policy. By default, all scanners are selected. To customize your selection, uncheck the Select All Scanners checkbox, which will allow you to deselect specific scanners and choose only those that are relevant to your policy.
-
Select the following scanners from the
Available Scannerslist. They will then be listed under theActive Scannerstab. -
Click the Save button to save the updates to your custom policy.


